Makers Mark
Sometimes during my 3D printing adventure I feel like a guy who has decided to go out and invent a thing he is calling a "car".He has this vision of it in his head. It will be a device for carrying people and goods down this asphalt flat surfaces that he sees all over the place outside his house.
The first thing he decides he needs to invent is something that will glide along the asphalt. Maybe something that rolls. He decides to invent a "wheel".
After much design work and a few failed attempts he does an internet search and finds an incredibly good design for a "wheel" on Thingiverse. The design was originally posted 10 years ago and has something like 10,000 makes (where other people download it and print it) and many many derivative designs (where people make slight tweaks and print it).
Wow, thinks our car designer. What a coincidence. I guess I can use this open source "wheel" design and go onto my next "car" feature. I think I will call it the "drive shaft".
What do you know, there are 4,000 loadable "drive shaft" designs.
And So on.
I am feeling this way because, when I had my M3D Mini 3D printer I kept thinking, "Wouldn't it be cool if there was some way I could easily monitor the Status of my print from whereever I might be? Perhaps even have a camera attached so I could peek at my design and see if it had gone off into the weeds? Hey, if I have a camera on it already, I could compile the shots into a time-lapse !! No. No, that is just too much work and is directly in the way of me getting my actual project done, which is getting Xmas lights on my train. 3D printing is not an end in itself, you know.
But I still kept that idea in my head that it would be a GREAT INVENTION to make a system that monitored my printer.
And this is where I need to keep remembering, "If you think it is a good idea, someone has probably already done it". Enter "Octopi" (or Octoprint). Octoprint is this widely used application that runs on a small computer (like a $25 Raspberry Pi). It hooks to most open source 3D printers through a USB cable and can monitor and control them (Hell, it can even run your slicer for you). The interface is a browser based thing that you can bring up on any computer (or your phone) on your local area network (there is a way to hook it up on the internet in general, but I haven't figured that out yet). And to top it off, you can add a simple ($10) tiny camera to the Raspberry Pi and then Octoprint will give you video monitoring (and time-lapse).
 |
| That Cheap little Raspberry PI I had in a box. |
 |
| Octoprint Browser Screen |
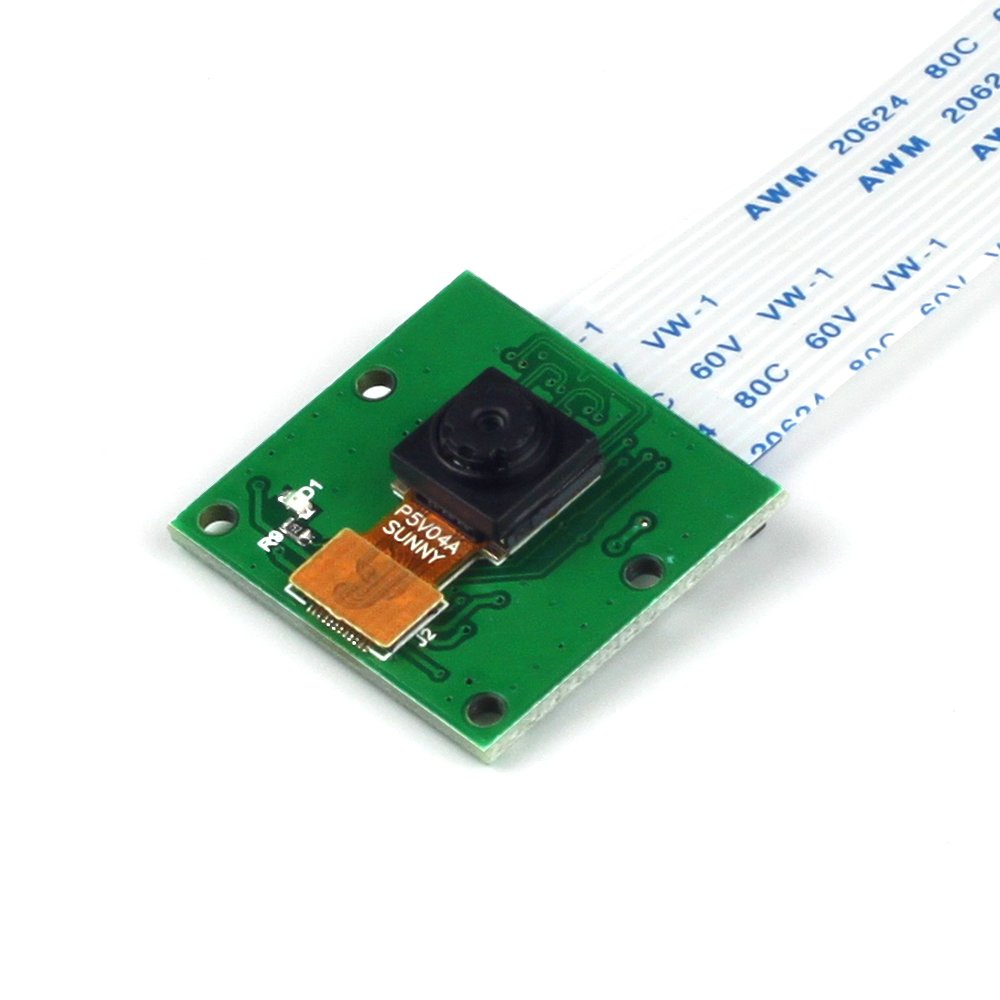 |
| Little Camera with Cable to PI |
 |
| Octoprint up and running and printing that thingee. |
Hey. I just remembered. I have a Raspberry Pi in a cardboard box upstairs. I bought it like 6 years ago to aid in my Xmas Train designing. It is very old. But it is just sitting up there, I wonder if it works for this sort of thing? I went upstairs and found the Pi in a Nike shoebox. I surfed Octoprint.com. I followed the directions.
like this:
- Download Octoprint.
- Put the disk image onto the Raspberry PI SD card.
- Oh. Need Etcher for that. Download Etcher.
- Edit the config file that is now on the SD card
- Oh, Need Notepad++ for that. Download Notepad++
- Put the SD card into the PI and turn it on.
- Do an SSH connect to the IP address of the PI
- Oh, Need Putty for that. Download Putty
- Change the default Password.
- Oh, need to know the default password. Google tells you that.(hint: it is Raspberry)
- Now Browse to the PI IP (ha, PI IP) and it will automatically walk you through some startup stuff.
- Take the PI downstairs and hook it up to your printer through the USB cable that you found in a box of cables in your closet.
- Upload some Gcode from your main computer into the Octoprint Queue.
- Say something appropriate like "Holy Shit, It Works!!"
Amazing.
Now I just need to print out an official case for my PI and get the Camera and mount it.
So, in approximately 1 hour, I found the software, learned how to flash my SD card. Configured the software for my local network. Initialized the print server, and had a print running.
This the Power of the Maker world. This is how the Makers make their mark. All of these smart people out there doing things that are interesting to them and then sharing the results so other people can bootstrap up to the point where they can be doing the really Important Things. We stand on the shoulders of Gods and we configure Xmas Train Lights !!
Some Additional Truth:
Ok, I did spend a few hours researching the internet for how to do the Octoprint and whether my Pi would actually work. This is so cool.
I will add more here once I have the Camera and Have Printed the oh so important integrated special PI mount case and camera holder.

The Follow Up:
Camera Mounted and Operational:


